Radiator valves play a significant role in how well your central heating radiators work. And because they're usually in plain sight, swapping out your radiator valves can be an easy way to boost both the efficiency and the look of your heating system.
Replacing a radiator valve might seem daunting, but with the right tools and a bit of guidance, it’s something you can do yourself.
Whether you’re looking to upgrade to a thermostatic radiator valve (TRV), fix a faulty valve, or simply change a radiator valve to match your home décor, this guide will walk you through the process.
Can you change radiator valves yourself?
Yes, you can change radiator valves yourself, and this step-by-step guide will equip you with the knowledge to do so.
While it’s always recommended to consult a registered heating engineer for more complex jobs, replacing a radiator valve is a straightforward task that many DIY enthusiasts can handle. Just ensure you have the right tools and understand the process before you begin.
Why might you need to change a radiator valve?
There are several reasons why you might need to consider a radiator valve replacement, including:
Replacing a faulty valve
A faulty valve can cause numerous issues, from radiators not heating up properly to leaks that could damage your flooring.
 Replacing a faulty radiator valve with a new valve is crucial to maintaining an efficient heating system. With the right approach, you can fix the problem before it worsens, ensuring your radiators function as they should.
Swapping manual valves for thermostatic radiator valves (TRVs)
Upgrading from manual valves to thermostatic radiator valves (TRVs) is a popular choice for homeowners looking to improve their heating system's efficiency.
TRVs allow you to set a desired temperature for each room, automatically adjusting the flow of hot water to maintain that temperature. This can lead to more comfortable living spaces and lower heating bills.
Finding a radiator valve that better suits your home décor
Radiator valves are more than just functional; they can also be a stylish addition to your home. Whether you prefer a classic, vintage look or a sleek, modern design, there are radiator valves available to suit every style.
Replacing your current radiator valve with one that better matches your décor is a simple yet effective way to enhance the appearance of your radiators.
Is it easy to change a radiator valve yourself?
Changing a radiator valve yourself is relatively easy, provided you follow the correct steps. This guide will teach you how to replace a radiator valve, making the process quicker and less messy.
However, if at any point you feel uncertain, it’s best to call in a professional.

Make sure your new radiator valve is the right size
Before you begin, it’s crucial to ensure that your new radiator valve is the correct size for your radiator and pipework.
Radiator valves come in different sizes, and installing the wrong one can lead to leaks or improper functioning of your heating system. Measure the old valve and compare it to the new one to ensure a perfect fit.
How to replace a radiator valve: A step-by-step guide
Now that you understand the basics, let’s dive into the step-by-step process of replacing a radiator valve.
What you'll need

Before you start, gather the following tools and materials:
- New radiator valves (thermostatic or manual)
- Old towels or sheets (to protect your floor)
- Adjustable spanner
- Pair of grips
- Large container (to catch any water)
- PTFE tape (for sealing)
- Radiator bleed key
- Hexagonal radiator spanner
- Wire wool (for cleaning)
Step 1: Turn off the water and heating system
Before getting started, make sure your heating system is off and allow the radiators to cool down completely—this could take up to an hour, but it’s important to avoid any risk of burns.
Once the radiators are cool, remove the plastic twist cap from the lockshield valve (also known as the return valve). Use an adjustable spanner or a pair of pliers to turn the spindle clockwise until it won't turn any further—this ensures no water can enter the radiator from that side.
It's a good idea to note how many turns it takes to close the lockshield valve, as you’ll need to replicate this when you install the new valve and turn it back on.
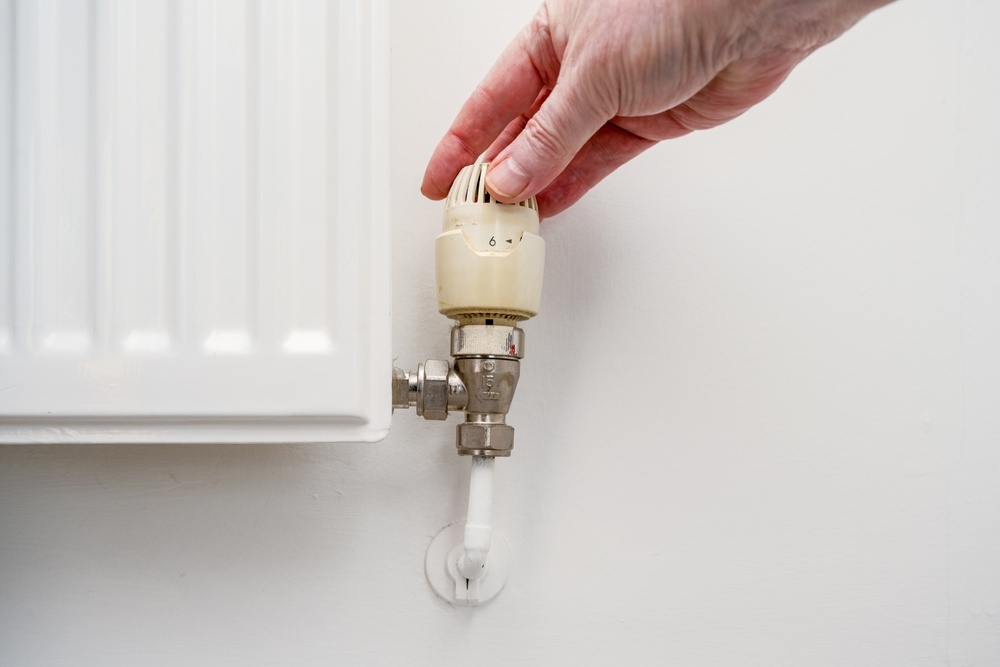
Next, move to the opposite side of the radiator and turn the valve clockwise by hand until it stops. If you have a thermostatic valve, turn it until the dial reaches zero.
Step 2: Cover the floor
Place old towels or sheets around the radiator to protect your flooring from any water that may spill during the process. It’s always better to be prepared for any unexpected leaks.
Step 3: Prepare the radiator valves
Start by preparing the radiator valve on the flow pipe. If you're replacing an old thermostatic valve with a new Thermostatic Radiator Valve (TRV), begin by removing the thermostatic heads from both the old and new valves. Typically, you can unscrew these by hand without needing any tools.
Once the heads are off, remove the nuts and adaptors from the new valve. To prevent leaks, wrap PTFE tape around the threads connecting to the radiator.
Wrap the tape clockwise around the threads about eight times, ensuring a tight seal.
Step 4: Release any stored pressure
Use your radiator bleed key to release any stored pressure in the radiator. This will prevent water from spraying out when you remove the old valve.
Place a container underneath the bleed valve to catch any water that comes out.
Step 5: Open the old thermostatic valve on the flow pipe
Now, it’s time to open the old thermostatic valve on the flow pipe. Use a spanner to loosen the top nut closest to the radiator.
As you do this, hold the valve body steady with a pair of grips to prevent the pipe from bending or leaking later on.
Gently unscrew the cap nut in an upward direction until water begins to flow out of the radiator.
Step 6: Release the pressure and drain the radiator
With the old valve now open, air will start to escape, and water will begin to flow out. Use a large container or a wet and dry vacuum to catch the water as it drains from the radiator.
 Depending on the size of your radiator, the draining process might take 5 to 10 minutes or longer.
Step 7: Remove the old radiator valve
After the radiator is fully drained, continue unscrewing the nut until the valve is completely disconnected from the radiator.
Then, use the spanner and grips to loosen the nut on the bottom of the valve that connects it to the pipework. Turn the nut anti-clockwise until the valve can be removed entirely.
Step 8: Attach the new thermostatic valve or manual radiator valve
Take your new valve and hold its body steady with the grips. Align the valve with the adapter, and then tighten the cap nut that holds them together using the spanner.
Next, tighten the cap nut that connects the valve to the pipework. Start tightening by hand, and then finish off with the adjustable spanner. Be careful not to overtighten, as this could damage the thread.
Finally, screw the new thermostatic valve head onto the valve body by hand until it is securely in place.
Step 9: Remove the old lockshield valve (if necessary)
If you’re replacing both valves to match, now is the time to remove the old lockshield valve. Follow the same process as in Step 5: use a spanner to loosen the top nut nearest the radiator, holding the valve body with grips to prevent any movement.
Use a container to catch any remaining drips, though most water should have already been drained.
Then, loosen the nut on the bottom of the lockshield valve that connects it to the pipework by turning it anti-clockwise with the spanner. Once loose, you can remove the old valve.
Step 10: Connect the new lockshield valve
To install the new lockshield valve, repeat the process used in Step 8. Align the valve with the radiator inlet and the copper pipe, and secure it with the cap nuts.
Again, tighten the nuts by hand first, and then finish with the adjustable spanner, ensuring a snug but not overly tight fit.
Final bits of maintenance
Once both valves are securely in place, it’s time for some final maintenance to ensure your radiator works properly.
Open the valves
Open the new valves by turning them counterclockwise. This will allow water to flow back into the radiator.
Make sure both the thermostatic and lockshield valves are open to ensure proper circulation of hot water.
Repressurise the system
If your heating system is a combi boiler, you’ll need to repressurise it. Check the pressure gauge and follow your boiler’s instructions to add water until the pressure is at the recommended level.
This step is crucial to ensure your heating system operates efficiently.
Bleed the radiator
Use your radiator bleed key to bleed your radiator and remove any trapped air from the radiator. Place a container underneath the radiator bleed valve, turn the key, and wait for water to start flowing out.
Once the water flows steadily, close the valve. Bleeding the radiator ensures that it heats up evenly and prevents cold spots.
Check for any leaks
Finally, inspect the new valves and pipework for leaks and tighten any loose connections if necessary. If you notice any persistent leaks, it might be best to call in a professional to check your work.
When to call in a JustFix professional
If you’re uncomfortable with any part of the process or encounter issues like persistent leaks, get in touch with a qualified heating engineer at JustFix. They can ensure the job is done correctly and safely, giving you peace of mind.

Our teams of Fixers work nationwide to provide you with professionals for fair, fixed prices.
When you book online with us or via the JustFix app, we'll match you with a qualified local heating and gas engineer who can come and tackle your radiator valves at a time that suits you. For more info, check out our guide on how JustFix works.
FAQs
Can you change a radiator valve without draining the system?
Yes, you can change a radiator valve without draining the entire system. By freezing the pipes or using a radiator draining kit, you can isolate the radiator from the rest of the heating system, allowing you to replace the valve without the hassle of draining all the water from your central heating system. This method is especially useful if you’re only replacing one valve.
Should I replace my manual valve with a thermostatic radiator valve?
Yes, replacing your manual valve with a thermostatic radiator valve (TRV) is a good idea if you want better control over your home's temperature and energy efficiency. TRVs automatically adjust the heat output based on the room's temperature, helping to reduce energy consumption and potentially lowering your heating bills. They can also provide more consistent comfort by preventing rooms from becoming too hot or too cold.